LED Volume Shoot Mistakes: Common Pitfalls and How to Avoid Them
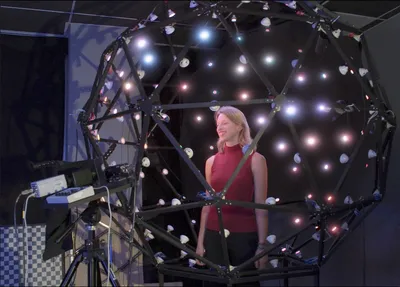
Image source: LED Walls: Working with the LED Volume for Cinematographers
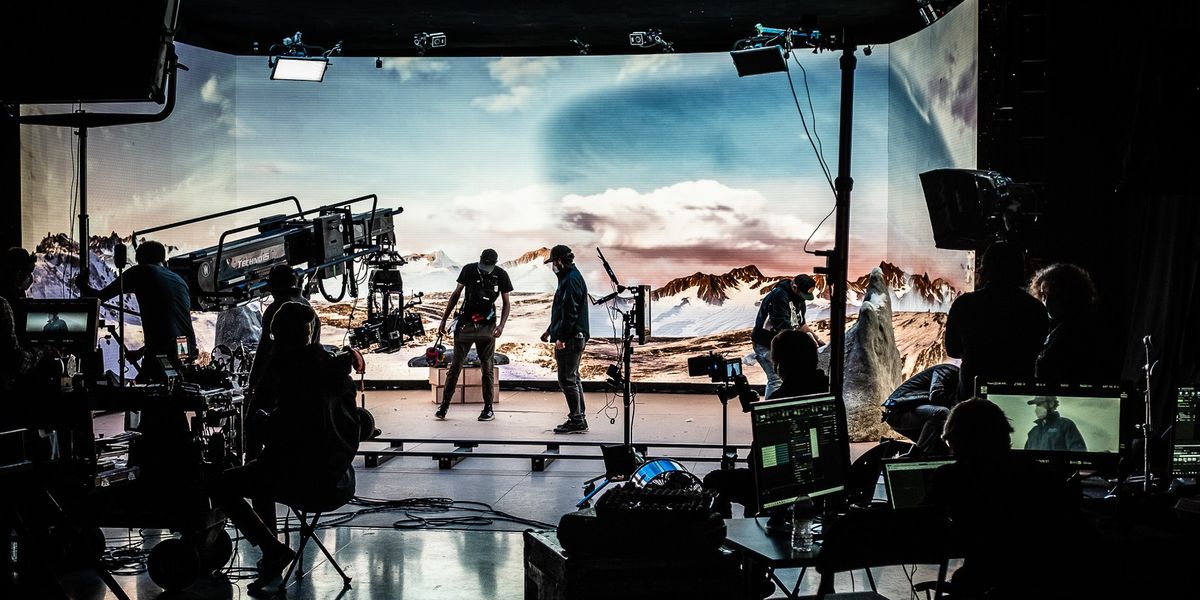
Image source: Tips for Cinematographers on Virtual Production Shoots
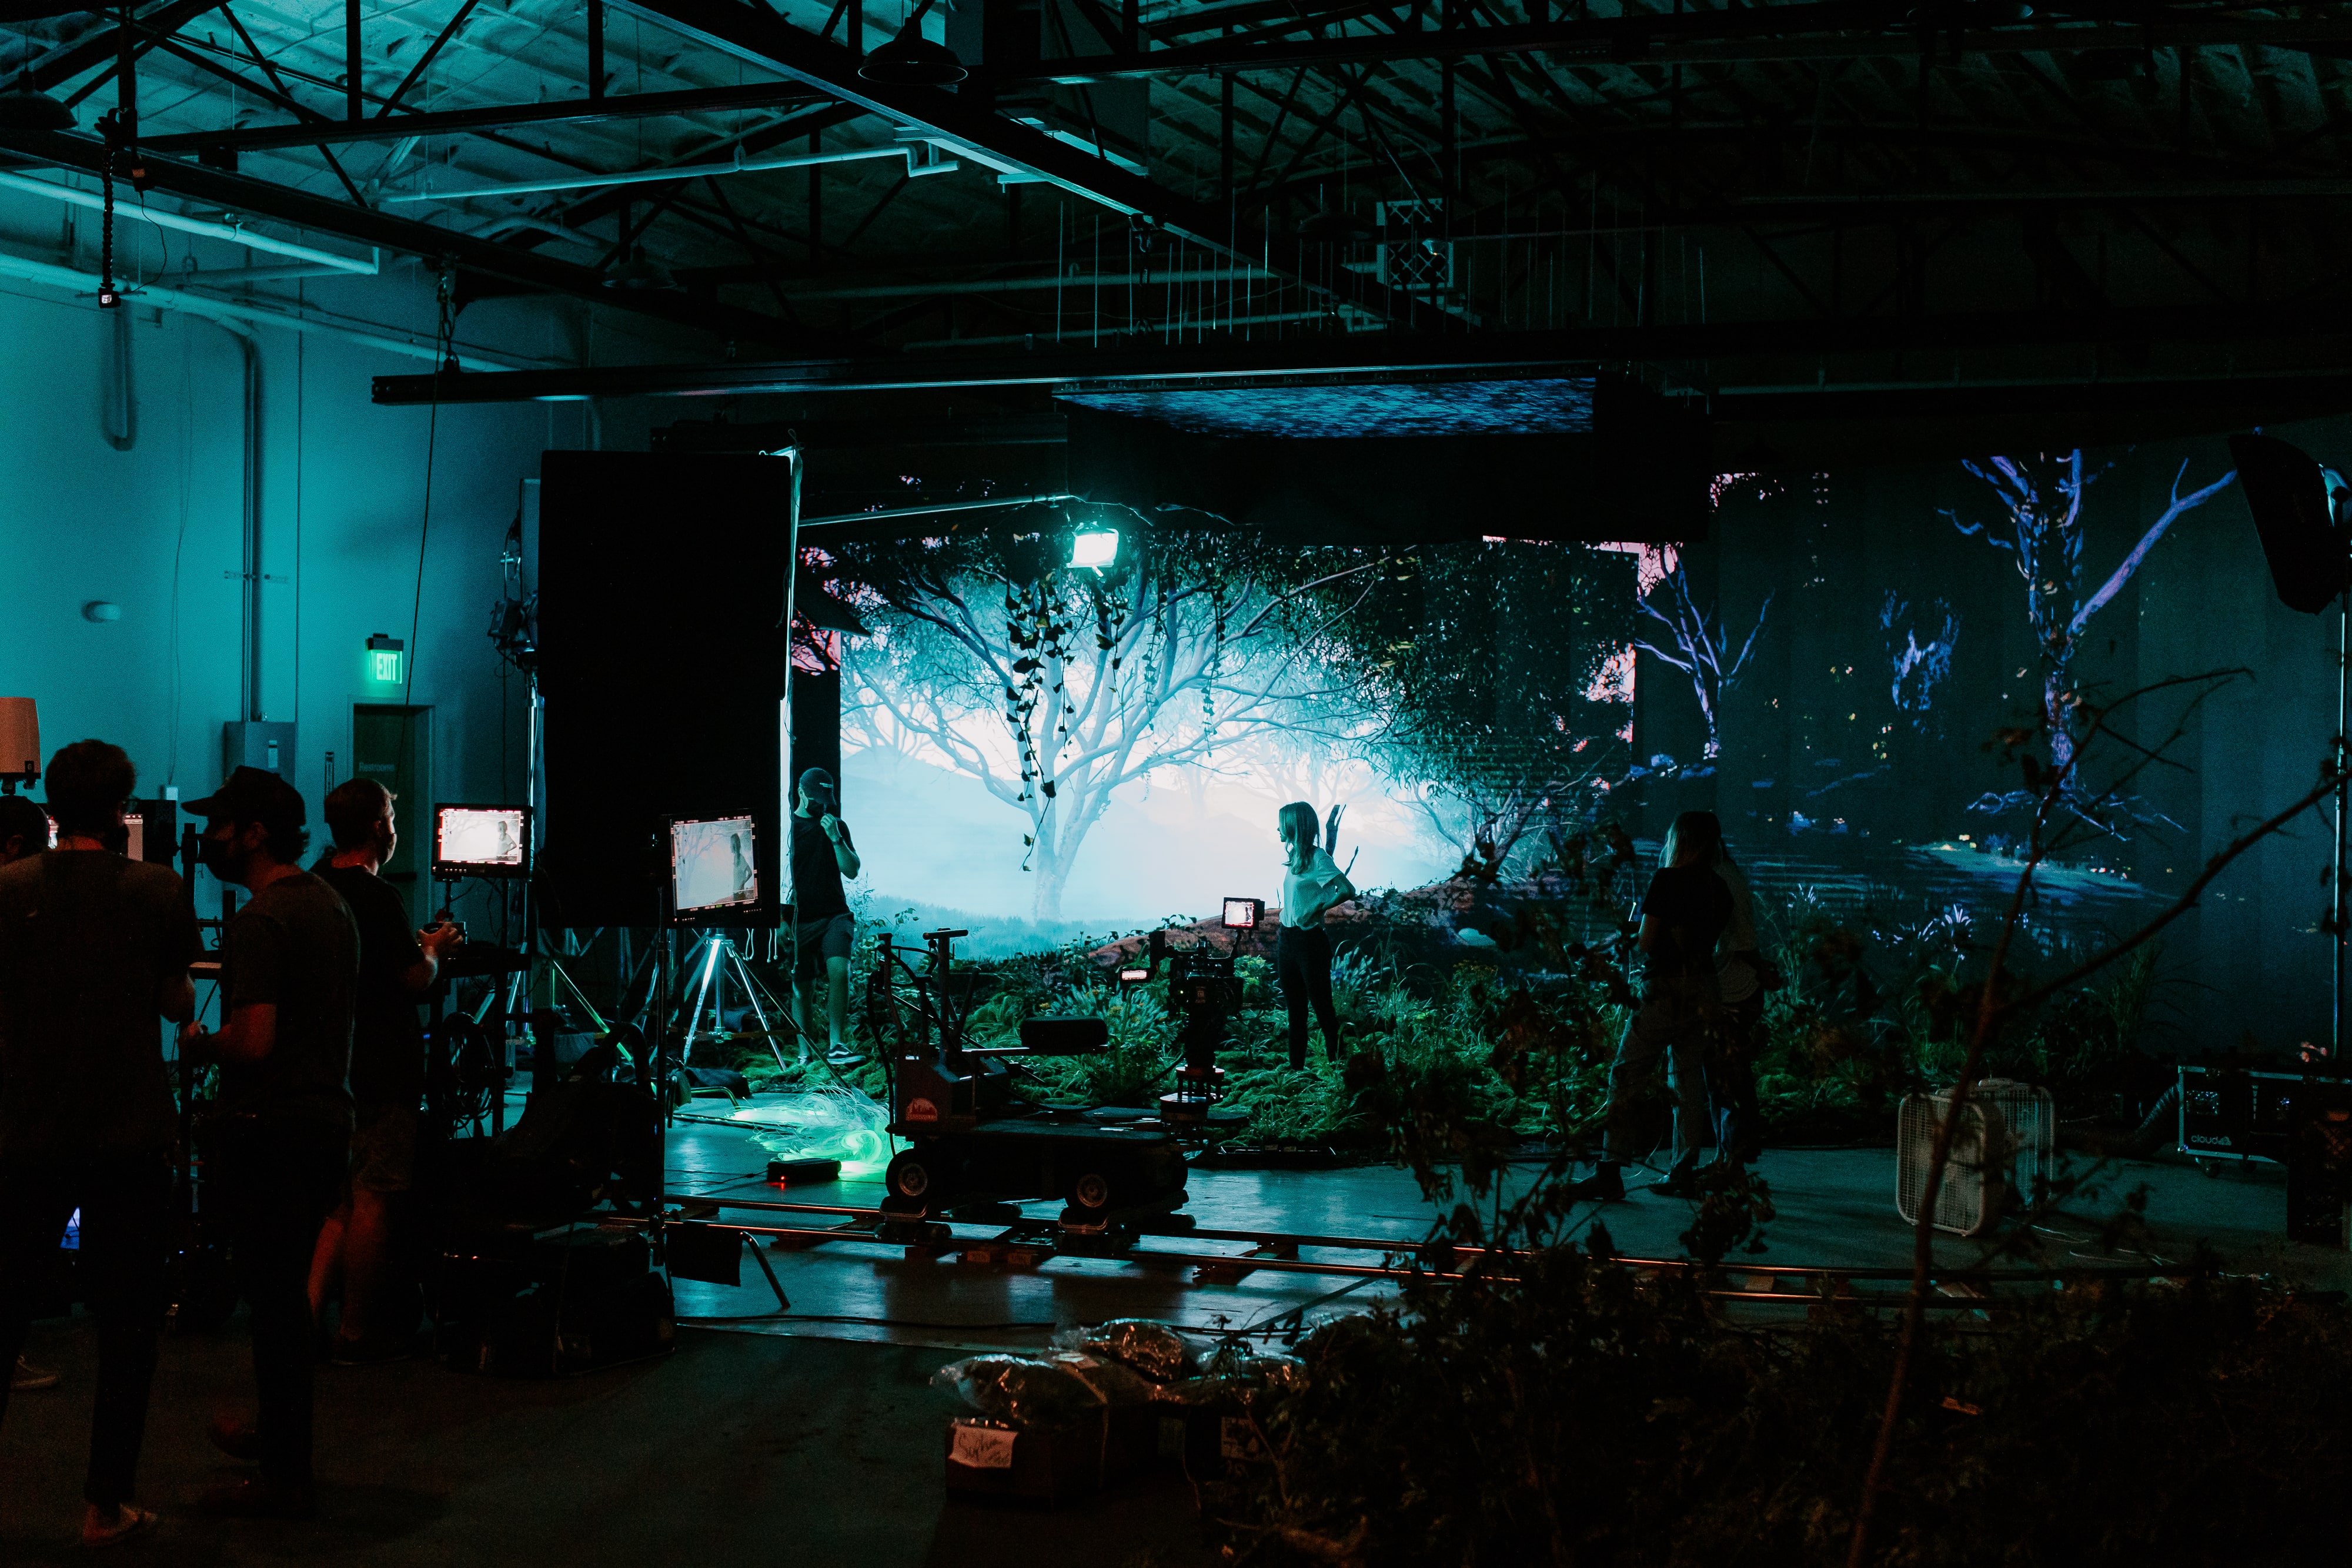
Image source: Lighting Tips for Shooting an LED Volume - Arc Studios
Common mistakes on an LED volume shoot—and how to avoid them
The biggest mistake is treating the LED wall as a finished background that needs little preparation. A convincing in-camera shot depends on the camera, tracking, rendered environment, wall, practical set and lighting working as one system, with every change checked through the production camera before the day is called “ready.” 1, 2
Before the shoot
-
Leaving the environment unfinished. A background that looks good on an artist’s monitor may expose weak detail, an awkward horizon or a visible set-extension boundary at the planned camera angle. Scout each shot virtually, then test the actual camera positions, moves and foreground set on stage. Budget for a dedicated pre-light and technical-test day rather than expecting to solve these issues between takes. 2, 3
The common failure here is not an aesthetic problem but a geometry problem. A wall-sized render can feel complete when viewed straight on, yet break as soon as the lens moves off-axis or the foreground set encroaches on the edge of the volume. Doorways, vehicle interiors, cockpit work and over-the-shoulder setups are especially unforgiving because small changes in camera height can reveal where the real set ends and the extension begins.
-
Skipping lens and tracking calibration. The rendered perspective depends on the physical camera’s position, lens characteristics and timing. Map the lenses intended for the shoot, check lens-data updates, and rehearse the fastest or widest moves. If the background appears to slide against the foreground, stop and check tracking and calibration before changing the art. 1, 2
Calibration is not a one-time checkbox. Focus breathing, zoom mapping, lens distortion, sensor crop and tracking latency all affect how accurately the virtual frustum matches the camera. Even a well-built volume can look wrong if the lens file is stale or if the tracking origin shifts during a rig change. The safest practice is to verify the lens package on the exact body and support system that will be used for photography.
-
Planning moves around a flat plate. A 2D plate does not produce the changing perspective of a 3D environment. Decide during prep whether each shot needs a static plate, layered 2.5D content or a tracked 3D scene; do not discover the limitation during a dolly move. 2
This matters most when parallax carries the shot. A slow push can still expose the difference between a projected still and a live 3D set because the foreground elements drift against the background in a way the plate cannot respond to. If the shot depends on a reveal, an orbit or a strong foreground silhouette, the environment should be built to preserve depth cues rather than merely fill the wall.
-
Ignoring perspective limits in the storyboards. Wide lenses exaggerate the volume’s strengths and weaknesses at the same time. A shot that is elegant on paper can become impossible if the camera needs to see too much wall edge, too much floor, or too much of the real set that should stay hidden. Blocking should be designed with the physical stage in mind, not just the virtual layout.
At the camera
| Mistake | What to do instead |
|---|---|
| Focusing sharply on the wall. The LED pixel pattern can form moiré with the camera sensor. | Test the intended lens, distance, aperture and focus; keep the wall slightly out of focus where the shot permits, and check oblique angles carefully. 1, 2 |
| Changing frame rate or shutter without retesting. Bands, flicker or partial-screen artifacts may appear. | Confirm synchronization across camera, render and display systems, then test every planned frame-rate and shutter combination on the actual wall. Do not assume one stage’s preferred settings apply to another. 1, 2, 3 |
| Judging color by eye. The wall can look plausible in person while skin tones or background contrast look wrong on camera. | Review a calibrated camera feed with the real costume, props and lighting; verify the color-management path and avoid an unintended second tone-map or LUT. 1, 2 |
| Allowing the camera to outrun the render. Fast pans, whip moves and abrupt stops can reveal tracking delay or stale imagery. | Keep motion within the tested response time of the system, especially on handheld-style shots. If the move depends on speed, verify the render updates cleanly at the intended operating pace before principal photography begins. |
Moiré is most visible when the wall is crisply resolved, the pixel pitch is coarse relative to the lens, or the focus plane lands near the LED surface. That is why a shot that looks safe at a wider stop can become troublesome when the DP opens up for exposure or when the scene is reframed more tightly. On a volume, focus is a storytelling tool and a technical control at the same time.
On the stage
-
Expecting the wall to do all the lighting. It is valuable for ambient light and reflections, but may not provide the hard sunlight or flattering skin-tone rendition the scene needs. Coordinate virtual and practical lighting; use supplemental fixtures for direction and shape, and flags or grids to keep those fixtures from washing out the wall. 2, 3
The most reliable approach is to treat the wall as a large motivated source, not a complete lighting package. It can lift shadows, create environmental color bounce and sell specular reflections, but it rarely replaces a properly placed key, edge or eyelight. In practice, the wall often supports the scene better when the practical lighting is built to preserve contrast and direct the viewer’s attention.
-
Ignoring the floor-to-wall join. A seam that disappears to the eye can remain obvious in the recorded image. Check it from the final camera position and hide or blend it with set design, foreground elements, floor height, lighting or a local adjustment to the virtual scene. 2
A low camera angle makes this issue more severe because the horizon can sit close to the join. Black floors, matte finishes, foreground furniture and shallow depth of field can all help, but the key is to treat the seam as a framing problem rather than a post-production problem.
-
Forgetting what reflective objects reveal. Cars, glasses and polished props may reflect uncovered stage areas or resolve individual LEDs. Test hero surfaces from every planned angle, not just against the background in the main frame. 1, 2
Reflective objects are often the first place the stage gives itself away. A chrome trim line can mirror rigging, a windshield can catch the top edge of the wall, and a glossy tabletop can pick up the crew area outside frame. Those reflections need to be managed as carefully as the background image.
-
Treating a wall adjustment as isolated. Changing background brightness also changes the light on actors and props; moving a practical light may lift the wall’s blacks. Have the cinematographer, practical gaffer, virtual-lighting team and VP supervisor assess changes together through the camera feed. 1, 2, 3
On a volume, every exposure move is coupled. Increasing the wall’s brightness can make skin look cleaner but can also flatten contrast and reduce the perceived depth of the set. Darkening the wall may improve mood while starving the foreground of ambient fill. The correct balance is usually found by iterating with the same lens, framing and camera height that will be used for the take.
-
Overlooking color on mixed surfaces. Skin, wardrobe, painted flats and practical props often react differently under LED emission than under tungsten or daylight fixtures. The result can be a scene that feels consistent on set but breaks when the camera sees the interaction between the wall and the foreground. Neutral references and consistent monitoring matter because LED volumes reward disciplined color management more than casual eyeballing.
A useful shot check
Before approving a setup, record a short test with the intended lens and camera move. Inspect the floor join, parallax, skin tones, reflections, moiré and scan artifacts at playback size. Then save the approved scene and settings so a later take can return to the same starting point. For a shot that cannot be made convincing in camera, plan a compositing fallback rather than accepting a flawed “final pixel”; the outer wall can still supply useful light and reflections. 1, 2
A practical test should be shot the way the scene will actually be shot: same camera, same lens, same stop, same frame rate, same shutter, same monitoring path. The purpose is not only to spot errors, but to confirm that the whole pipeline behaves consistently when the crew resets after lunch or returns on a later day. Virtual production depends on repeatability, and the most expensive mistakes usually come from assuming yesterday’s setup still matches today’s camera.
flowchart LR A[Plan shot and build environment] --> B[Calibrate lens, tracking and sync] B --> C[Pre-light practical set and LED wall] C --> D[Test through production camera] D --> E{Image holds up on playback?} E -- No --> F[Fix content, camera, lighting or timing] F --> D E -- Yes --> G[Save setup and shoot]Common LED volume mistakes, summarized
- Treating the wall like a backdrop instead of a camera system. The image only works when camera, render, tracking and lighting agree.
- Skipping technical tests until principal photography. Small errors become visible much faster on a volume than on a conventional stage.
- Ignoring lens behavior. Distortion, breathing and focus distance can all alter how the virtual scene sits in frame.
- Lighting the volume without protecting the image. Overbright practicals, poor flagging or uncontrolled reflections can make the wall look worse rather than better.
- Assuming the first framing is the final framing. A move that looks good on a monitor may reveal joins, seams and tracking problems once the lens changes position.
The cleanest LED volume workflow is simple in principle: lock the camera package, verify the tracking, light for both the wall and the foreground, and test every shot through the actual production camera before it is trusted on the day.