How to Light a Car Interior Scene at Night: Practical Techniques, Reflections and Camera-Matching Tips
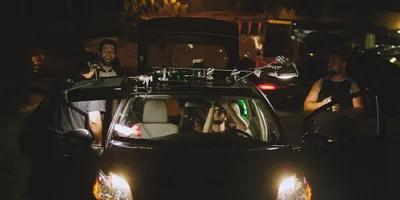
Image source: How We Shot Car Scenes at Night on a Micro-Budget for ’ …
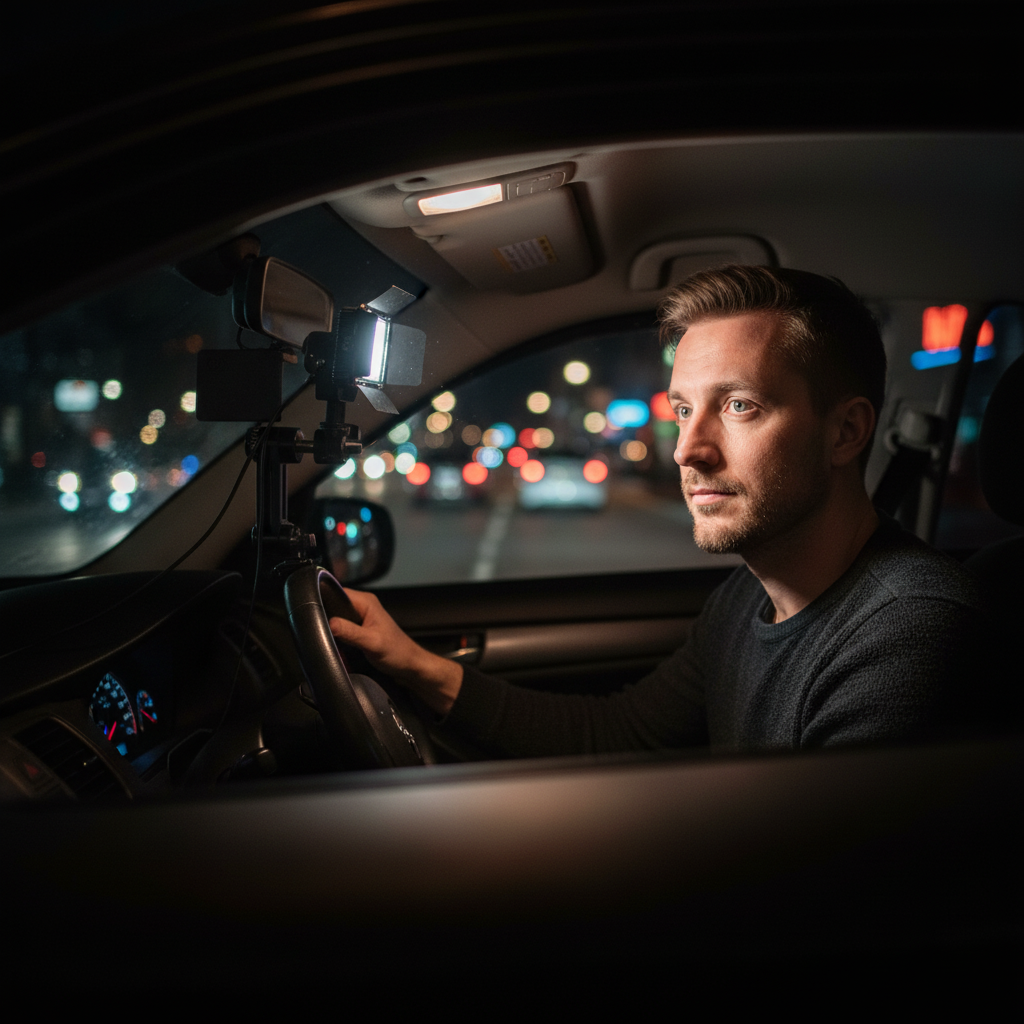
Image source: Eliminate Windshield Glare for Night Vehicle Vlogging
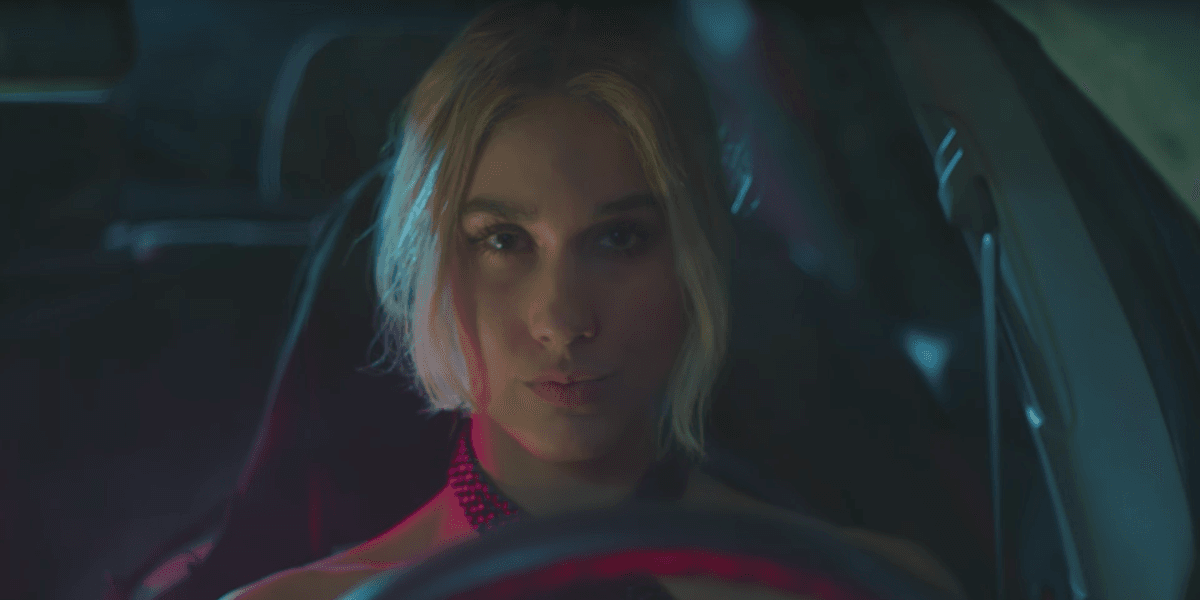
Image source: Watch: How to Set up Moody Interior Car Shots at Night
To light a night car interior, give the actors a faint, steady base level, then let brighter light seem to come from the world outside: streetlights, passing cars, shopfronts or a traffic signal. The cabin should stay readable when the story needs it, but it should never look evenly flooded with light. 1, 2
Build the look
-
Choose the shot first. A camera inside the car, beside a window or looking through the windshield will each see different reflections and hidden-light positions. Frame the shot before placing lights. 2
-
Set a low base level. Put a small, dimmable, diffused LED near the dashboard, out of frame. Let it lift the actors’ eyes and faces just enough between passing lights; it should not look like a bright lamp shining up from their laps. Cinematographer Shane Hurlbut describes using a soft dashboard pad specifically to keep faces from falling completely black between streetlights. 1
-
Add light from outside. Place a light beyond a side window or windshield and sweep or dim it as though the car passes a streetlight. For a passing vehicle, use a brief paired headlight effect; for a stop, hold a coloured traffic-light effect. Keep the direction and timing consistent with what the audience can see outside. 2
-
Check the glass. Watch a take from the actual camera position. If a light appears as a distracting patch in the windshield, move or flag it rather than simply turning it brighter. Reflections can also be useful when they convincingly suggest the street outside. 1, 2
A convincing night-car image usually has three separate jobs happening at once: a motivated exterior source, a low interior base, and controlled reflections. The mistake many setups make is trying to use one light for all three. A windshield reflection may be perfect for passing traffic, but the same reflection can flatten the actors’ faces if it lands directly across the glass. The right answer is usually not more intensity, but better placement and a clearer relationship between the light and the imagined road environment.
Read the car as a three-dimensional space
A car interior is a small, reflective box with curved glass on nearly every side. That means the brightest object in frame is often not the actors, but the white trace of a light source in the windshield or side window. Dark trim, headrests and weather seals can help hide practical units, but the camera will still read the shape of the vehicle through highlights, not through fill.
The interior should also have depth. A face lit evenly from the front can look pasted onto the background, while a little separation between key side, dashboard fill and back window ambience makes the cabin feel occupied. Even in a tight two-shot, the viewer should be able to tell where the driver sits, which window is taking light, and where the road outside is supposed to be.
Motivated sources that sell the illusion
Night driving scenes work best when each light cue has a visible or implied cause.
- Streetlights: use a soft, downward sweep across the roofline and faces, then let it fall back to darkness.
- Passing cars: create a faster, sharper pulse with a wider source, often coming from one side only.
- Shopfronts or neon: hold a colored wash longer and let it kiss the cheekbones, glass and dashboard trim.
- Traffic signals: keep the color readable and the falloff tight, so the source feels small and distant.
Motivation matters because the audience subconsciously tracks direction and timing. If the road seems to pass on the left, but the light cues hit from both sides in equal rhythm, the image stops feeling like a real drive and starts feeling like stage lighting. The most convincing result often comes from limiting the number of visible effects and letting darkness do some of the work.
Practical lighting recipe for a parked car
For a low-budget “driving” conversation, keep the car stationary, hide one dim soft LED at the dash, and have a crew member sweep a second light past a side window at repeatable intervals. Record a short test: if the actors stay equally bright throughout, lower the dash light; if faces vanish between sweeps, raise it slightly. This parked-car approach can be combined with exterior driving footage in the edit. 2
A useful starting point is to think in layers:
- Base layer: a very soft, low-intensity fill on the faces and hands.
- Motion layer: moving light that suggests traffic or streetlamps.
- Background layer: darkness, reflections and occasional practical points outside the car.
That structure prevents the interior from looking dead while keeping the scene cinematic. It also gives the editor room to cut between close-ups, over-the-shoulders and exterior inserts without the exposure feeling inconsistent.
Exposure and camera matching
Night car interiors often fall apart when the camera exposure is set for the highlights instead of the faces. If the windshield detail is protected too aggressively, the cabin becomes too dark to read; if the faces are lifted too much, the windows turn gray and the night loses shape. A practical balance is to expose for the skin tones you want to protect, then allow the exterior to go darker than real life. That trade-off is usually more believable than trying to preserve everything.
Camera matching matters as much as lighting. A wide lens sees more windshield, more dash, and more reflections than a close telephoto shot. If the car is covered in visible reflections on one angle, the reverse angle should feel equally motivated rather than suddenly clean. Matching the height of the camera also helps: a low dashboard camera tends to exaggerate the roofline and windshield reflections, while a higher angle can reveal hidden lights and make the setup feel artificial.
When the car is actually moving
If the car really moves, treat rigging as a separate safety task: use secure, purpose-built mounts and a planned route rather than loose lights or stands inside a driven vehicle. A micro-budget production of DriverX used battery-powered roof-mounted LEDs with remote dimming to mimic passing streetlights, but that setup involved a dedicated crew and mounting equipment. 3
For a moving car, the most important rule is consistency. The actor’s face, the road rhythm and the light direction all have to agree from shot to shot. Remote dimming can follow the motion of nearby traffic, and an overhead or roof-mounted source can create a believable sweep across the glass without requiring a large rig inside the cabin. The car’s speed also changes the pattern: a slow roll needs longer light passes, while a faster vehicle needs quicker, more frequent pulses to avoid the feeling of a static set.
Common mistakes
- Lighting the whole cabin evenly. Real night driving has contrast. Flat fill removes the sense of speed and distance.
- Ignoring windshield reflections. A source can look perfect in the rental lot and terrible once the camera points through glass.
- Using a bright up-light from below. That reads as a hidden lamp, not a street outside.
- Forgetting the background plate. If exterior inserts show one road environment and the interior light cues suggest another, the edit will feel disconnected.
- Changing direction between setups. If the key source moves from left to right without a story reason, the car stops feeling oriented in space.
A practical rule of thumb
If the audience should feel the road outside, let the windows carry the motion; if the audience should feel the actors, give them a steady base that survives the gaps between those window cues. The cleanest car-interior night scenes usually come from balancing those two needs instead of trying to light everything at once.