
Mastering Camera Placement: Your Ultimate Guide to Technical Scouts on Location
Image source: What Is A Tech Scout? Why Is It Crucial For Cinematographers?
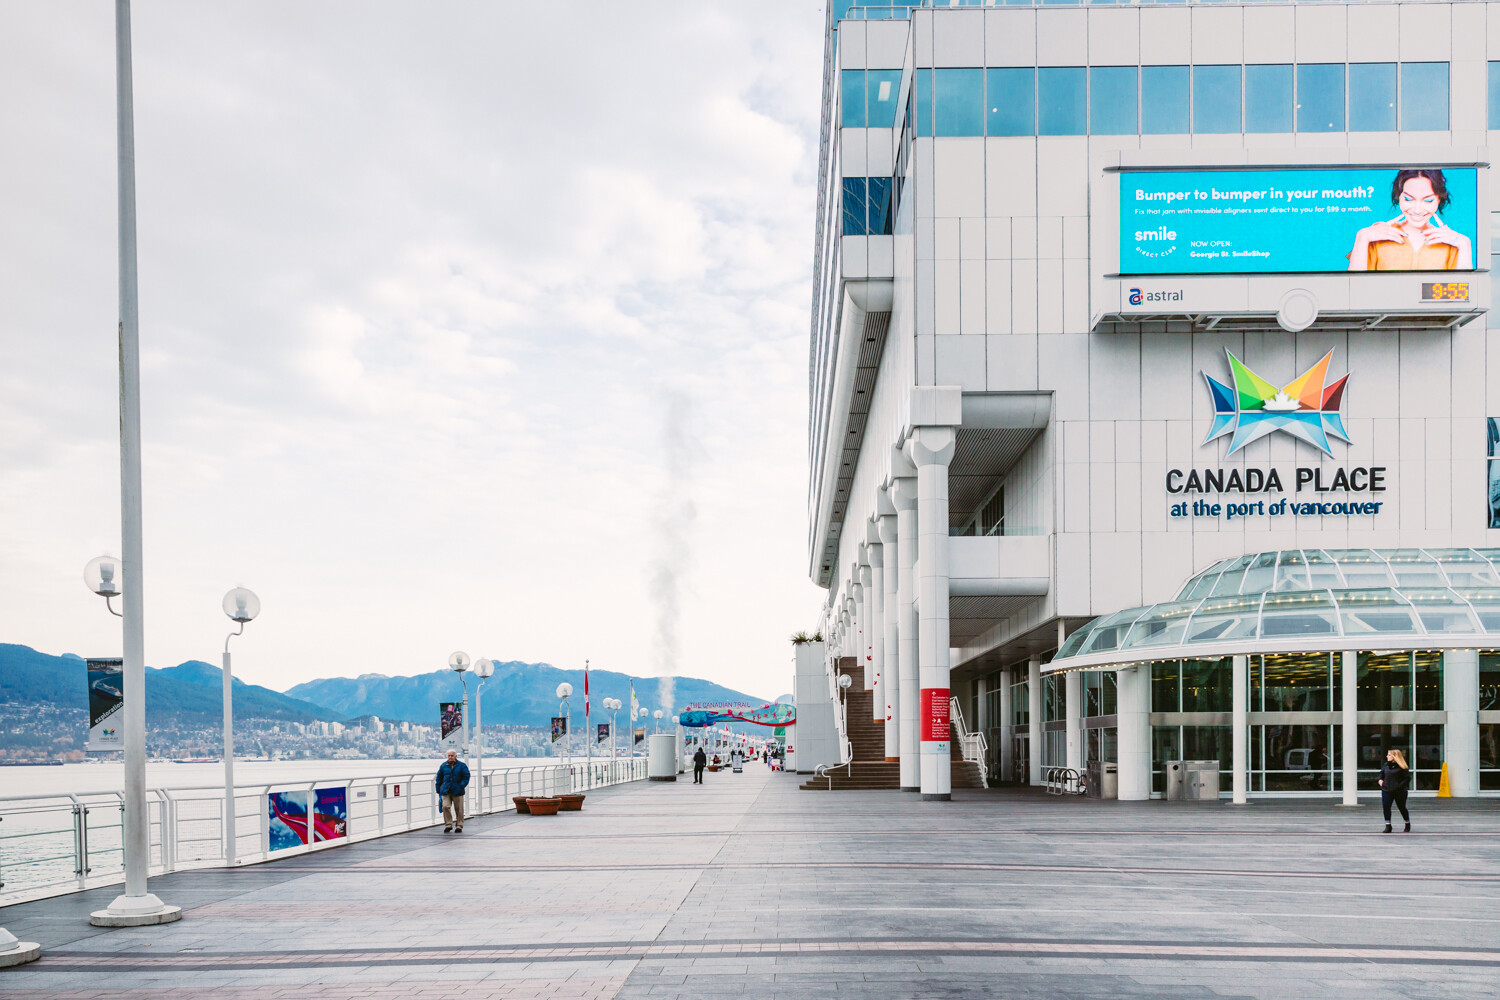
Image source: What is a Tech Scout and Why You Need to Do One
Image source: Scouting a Location
A technical scout (tech scout) is a pre-production walkthrough where the director, DP/cinematographer, and department heads plan exact camera positions, lighting, and equipment placement on location before shooting. 1, 2 The point is to turn a creative shot list into a workable physical plan: where the camera can stand, how it moves, what it sees, what power and support it needs, and what will block or complicate the frame.
Key steps for planning camera positions
| Aspect | What to do |
|---|---|
| Prep first | Describe the scene, action, and motivation with your team; bring shot lists/coverage plans 1 |
| Access & space | Confirm where grip trucks park, where video village goes, and whether camera platforms/bleachers fit operators 3, 2 |
| Unobstructed views | Ensure each camera has an adequate, clear view of the stage/field/actors; mark seats to kill if in bleachers 3 |
| Movement & support | Plan dolly track placement, measure track size accounting for obstacles, and decide if scissor lifts/platforms are needed 3, 1 |
| Light & sun | Note where natural light comes from; visit at shoot time; use Sun Seeker/Helios to track sun position on your date 4, 2 |
| Power & cables | Identify usable power outlets, max safe output, and cable routes from truck to cameras 3, 4 |
| Audio | Check for errant sounds (traffic, HVAC) that could affect shooting 2 |
| Frame shots | Use your camera/phone + app like Cadrage to dial in exact camera/lens setups and frame angles on-site 4 |
| Secure gear | Plan strap-down points; ensure platforms are big enough and split for operator + camera 3 |
A good tech scout is not just a location visit. It is a blocking session for the camera department, where line of sight, operator access, and support gear are tested against the actual architecture of the space. A beautiful room can still be unusable if a doorway lands in the wrong part of the frame, a ceiling is too low for a camera head, or a dolly run collides with a wall, stair, or audience area.
How to think about camera placement on location
Camera placement on a scout starts with the story beat, not the equipment. The first question is where the audience needs to look, and the second is what height, angle, and distance will make that beat read clearly. A wide, high angle may establish geography and crowd movement; a lower angle may preserve eye line and give a subject more presence; a tighter position may isolate performance but reduce room for coverage.
The practical test is whether each intended setup can be built without forcing the crew into unsafe or awkward compromises. A lens may cover the action from one spot, but if that spot blocks a doorway, sits in traffic, or forces the operator to lean over railings, the setup is not really available.
What to verify for every planned shot
- Eyeline and screen direction: Make sure the camera position preserves continuity between reverses and matches the intended geography of the scene.
- Height: Confirm whether the shot needs tripod height, low mode, shoulder level, or a raised platform.
- Distance: Check whether the lens choice fits the available depth of the space without flattening the scene or crowding the foreground.
- Foreground obstructions: Watch for signs, handrails, light fixtures, windows, audience heads, and set dressing that can cut into the frame.
- Operator clearance: Leave enough room for focus pulling, pan/tilt movement, and a safe exit path.
- Background behavior: Note mirrors, reflective glass, moving crowds, and practical lights that may be visible in frame.
Building coverage from the location outward
The best order is usually to identify the master position first, then the insert and close-up positions, then any specialty angles. A master often reveals the location’s true limitations: if the widest practical frame already feels cramped, the rest of the coverage may need longer lenses, smaller camera bodies, or a different blocking plan.
From there, map the likely coverage zones. In a narrow interior, one side may be reserved for dialogue coverage while the opposite side is kept open for movement. In an exterior, the camera may need to live on one side of the action to control the background or hide modern elements such as parking lots, utility poles, or signage.
Common camera-position problems on location
- The “perfect” angle is physically impossible because the camera would be in a wall, doorway, window, or crowd path.
- The lens fits, but the support does not because there is no room for tripod spread, dolly track, or a hi-hat.
- The shot works only when empty because crew, extras, or live-event traffic will enter the frame.
- The best light is at the wrong time because the sun angle changes the look of the key position by the hour.
- The clean background disappears once practical equipment, signage, or reflections are present.
Coordinate departments early
Camera placement affects grip, electric, art, sound, and production all at once. A camera position that looks ideal on paper can fail if there is no route for cable runs, no place to hide stands, or no room for a boom to live outside the frame. On a busy location, these trade-offs are often the difference between a smooth day and a constant reset.
The scout is also the time to confirm who owns each conflict. If a camera needs to live where a practical lamp is planned, that issue belongs in the room before the shoot day. If a dolly move crosses a doorway used by talent, extras, or the public, the blocking and production plan need to adapt.
A simple workflow for the scout
- Walk the scene in order with the director and DP.
- Stand at the intended master position and confirm the real frame lines.
- Check the reverse angle and any coverage that depends on the same physical clearance.
- Test the camera height with a tripod, sticks, or a phone preview.
- Mark obstructions, dead zones, and usable footprint areas.
- Verify where gear, crew, and support equipment can sit without entering frame.
- Revisit the scene at the intended shoot time if daylight is part of the design.
This workflow keeps the scout grounded in reality. The goal is not to guess where the camera might fit, but to leave with positions that can actually be built.
Tools to bring
- Camera or phone (DSLR/mirrorless works) 4
- Cadrage app for framing with your exact lens 4
- Sun Seeker/Helios/Sun Surveyor for sun tracking 5, 4
- Measuring tape (for dolly track/platform sizes) 1
A measuring tape is especially useful when the intended camera position depends on exact clearances. A difference of even a few feet can determine whether a dolly run fits, whether a platform can be placed safely, or whether a doorway remains usable for cast and crew.
Practical notes for exterior and interior locations
In exteriors, the scout usually focuses on sun direction, shadows, weather exposure, and background contamination. A camera position that looks great at 9 a.m. may become unusable by late afternoon if hard sunlight rakes across the subject or the background goes blown out. Trees, buildings, and reflective surfaces can also create changing light patterns that affect the same frame throughout the day.
In interiors, the main concerns are clearance, ceiling height, practical lighting, power, and sound. Narrow hallways, small rooms, and reflective walls often force compromise on lens choice and camera movement. In these spaces, even the sound of HVAC or a nearby appliance can influence where the camera can be placed, since the cleanest visual angle may not be the cleanest recording angle.
What a strong technical scout achieves
A strong tech scout makes the camera plan concrete enough that the shoot day becomes execution rather than discovery. It aligns the director’s vision with the actual geometry of the location, reduces surprises, and exposes problems while there is still time to solve them. The result is a shot plan that respects both the image and the mechanics behind it.