
Mastering the Establishing Shot: Techniques and Tips for Filmmakers
Unlock the secrets of the establishing shot to enhance your filmmaking.
Image source: What Are Establishing Shots? - No Film School

Image source: TIPS on Establishing Shots for Filmmakers
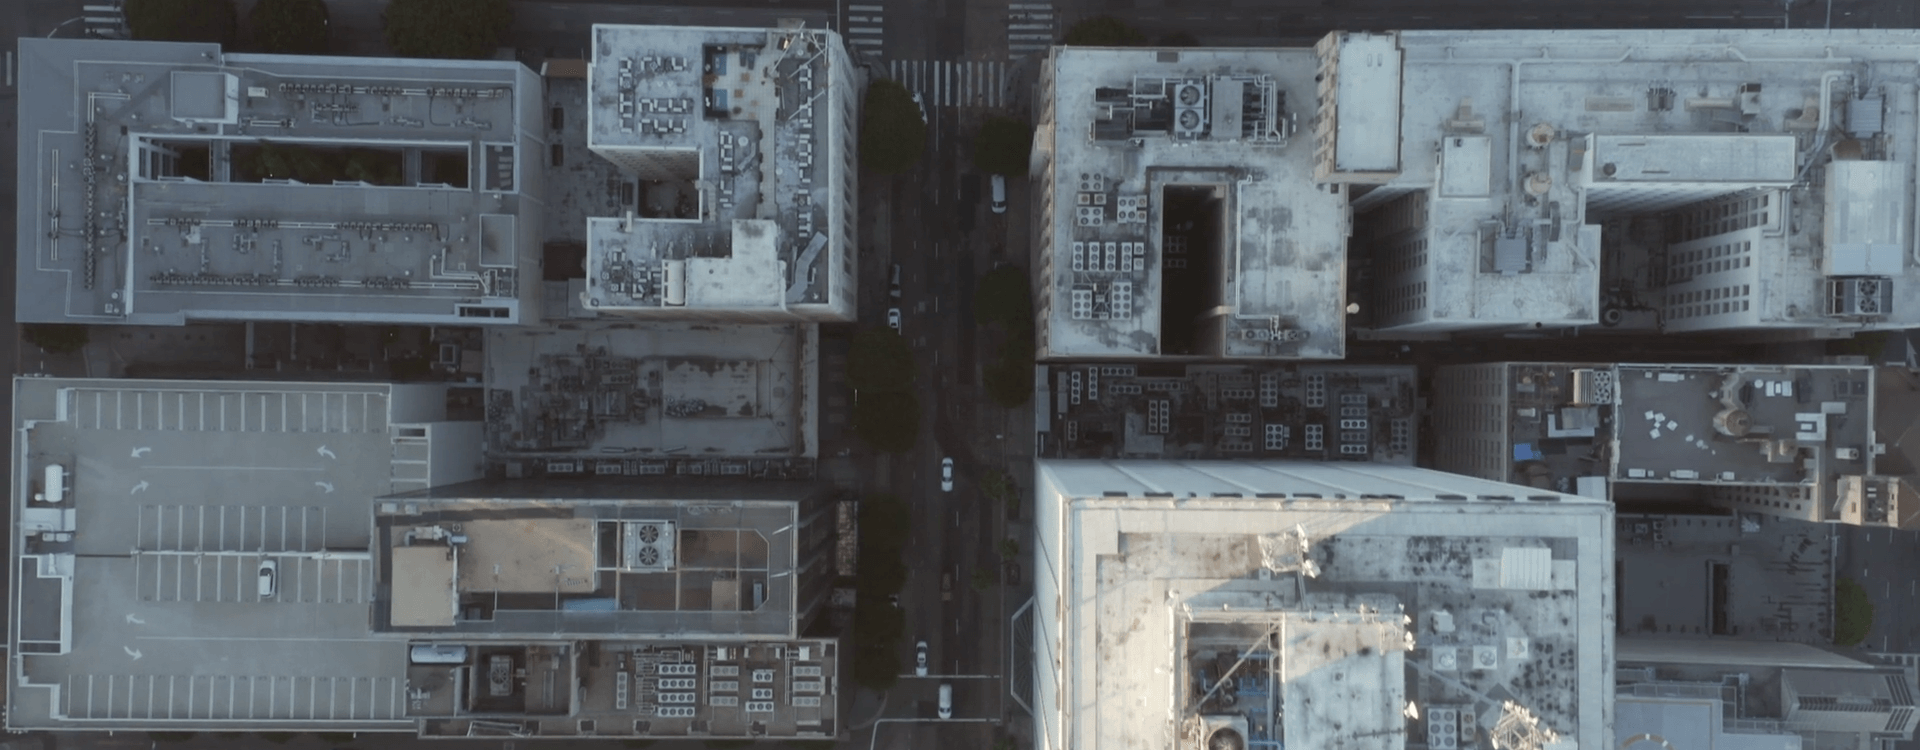
Image source: What Is an Establishing Shot and how to Get It? | Artlist
An establishing shot is a wide shot (often a long or extreme-long shot) at the beginning of a scene that shows the audience where and when the action takes place, while establishing the relationship between characters and their surroundings. 1, 2
Key purposes
| What it establishes | How it helps the viewer |
|---|---|
| Location | Shows city skylines, building exteriors, room interiors, or landmarks 1, 3 |
| Time | Indicates time of day, season, or historical period through lighting and setting 2 |
| Tone/mood | Conveys atmosphere (e.g., ominous, cheerful, tense) before dialogue starts 4, 2 |
| Character relationships | Shows physical positioning between people and objects 1 |
How to use it effectively
- Keep it wide – Use a wide/long lens to capture maximum scenery and set dressing 2
- Keep it short – Typically 2–5 seconds; pack essential info quickly without overdoing it 4, 2
- Keep it well lit – Lighting should convey mood even without dialogue 2
- Add depth – Include foreground details and lead-in lines (roads, pathways) to guide the eye 5
- Plan strategically – Envision the shot, research sun trajectory (apps like Sunseeker), and shoot early before location changes 4
- Follow with tighter shots – Cut to medium/close-ups after establishing context, or have characters move through the shot 2
Common examples
- City skyline (e.g., Brooklyn Bridge for New York) 1
- Outside a building (hotel, school, cafe) 3, 2
- Aerial/drone view of a location 4
- Interior room showing all characters 1
References
-
50+ Types of Camera Shots, Angles, and Techniques - StudioBinder
-
How to Use Establishing Shots in Your Films and Videos - Soundstripe
-
The Perfect Establishing Shot: How to Set the Scene Like a Pro