
Mastering the Art of Storyboarding: A Step-by-Step Guide
Image source: How to build a storyboard
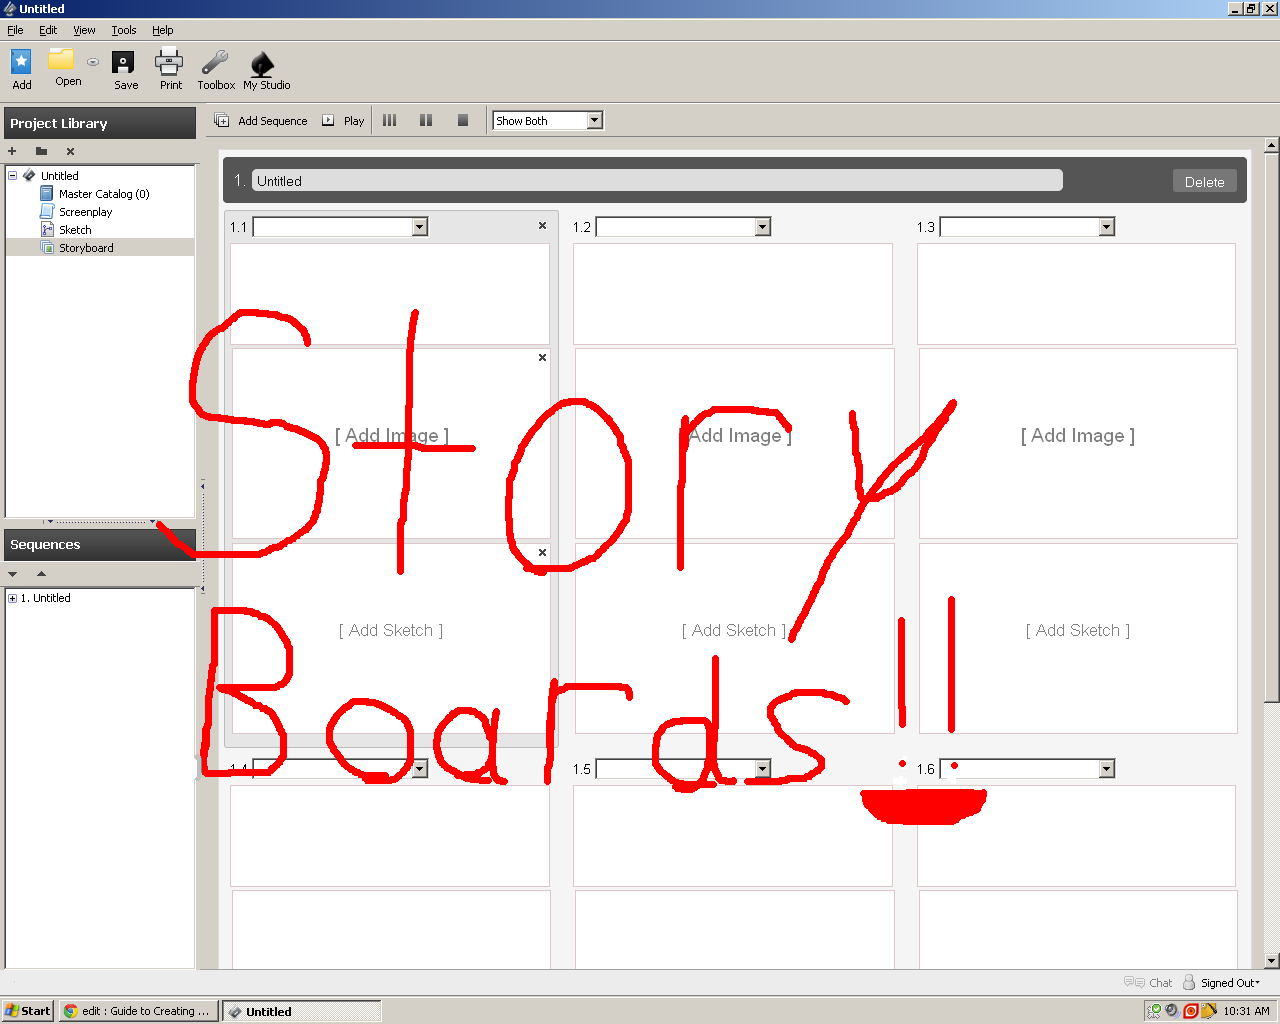
Image source: Guide to Creating a Storyboard : 5 Steps

Image source: Creating a Storyboard: A Step-by-Step Guide
Here is a simple, practical way to storyboard a single scene, step by step. This works whether you “can’t draw” or you’re into detailed panels. 1, 2
Step 1: Clarify the scene
Before drawing anything, answer in writing (just a few bullets):
- Where does the scene take place (location, time of day)? 2
- Who is in it, and what do they want in this moment? 2
- What must change by the end of the scene (decision, reveal, emotion)? 1
This gives you a clear goal so your shots are not random but serve the story. 1
Step 2: Break the scene into beats
A “beat” is a small unit of action or change, often 1–2 lines of script or one clear action.
- Read the scene and mark each beat: “Character enters”, “They argue”, “He notices the gun”, “She leaves”, etc. 2
- Each beat will usually become 1–3 storyboard panels depending on how visual you want it to be. 3
You are basically slicing the scene into filmable moments.
Step 3: Prepare your panels
You can work on paper or digitally; both are used professionally. 4
- Draw a page of rectangles, or print a free storyboard template. 5, 2
- Make each rectangle the same aspect ratio as your final video (for example 16:9 for YouTube). 2
- Leave space under each box for notes, action, and dialogue. 4, 2
Think of each box as one camera shot.
Step 4: Choose the shot for each beat
For each beat, quickly decide how the audience should see it:
- Shot size: wide shot to show space, medium for interaction, close-up for emotion. 3
- Angle: eye level (neutral), low angle (character powerful), high angle (character vulnerable). 3, 2
- Purpose: what do you want the viewer to notice first in this shot?
Jot the shot type (e.g. “WS”, “CU”, “low angle”) under or beside the frame. 2
Step 5: Sketch simple thumbnails
Now draw rough stick-figure versions before doing anything clean. Professionals do this too. 6, 4
- Use basic shapes and stick figures; focus on where characters are and where they are looking. 6, 4
- Make objects in the foreground bigger than in the background to show depth. 2
- Ignore details like clothing folds or perfect faces; clarity is more important than beauty. 4
If you like your thumbnail, you can redraw it a bit cleaner in the final box; if not, change it while it’s still rough. 6
Step 6: Show movement and camera motion
Storyboards must show what moves, not just static poses.
- Use arrows on characters to show how they move (left, right, toward camera, away). 7, 2
- Use arrows on the frame or duplicate panels to show camera movement (pan, tilt, zoom). 4
- For complex action, do a simple top-down “map” to clarify where everyone is. 4
This helps avoid confusion on set or in animation.
Step 7: Add notes, dialogue, and sound
Under each panel, add brief text so anyone reading can “play the scene” in their head. 1, 2
- Action note: “She slams the door”, “He notices the ring on the table.”
- Dialogue: only the line(s) spoken in that shot, or a key fragment. 1, 2
- Sound: “SFX: door slam”, “Ambient street noise”, “Music builds”. 2
- Technical note (optional): “Handheld”, “Slow push-in”, “Match cut”. 8, 2
Keep notes short and readable; the image and notes should work together.
Step 8: Number and review the sequence
Finally, make your scene usable and fix pacing issues. 1, 2
- Number panels as Scene–Shot (e.g. 5–1, 5–2, 5–3) so you can refer to them later. 2
- Flip through the panels in order and imagine watching the scene.
- Ask: Is anything confusing? Are there redundant shots? Is the emotional moment clear? 1
- Revise: combine, remove, or change shots until the flow feels smooth. 1
This review phase is where the storyboard really becomes cinematic.
To make this practical: next, it would help to pick one concrete scene (even a very short one) and walk through these steps together. What kind of scene do you want to storyboard first (for example, two people arguing in a café, a chase in a street, a horror reveal in a hallway, etc.), and what’s the basic situation in it?
References
-
How to Make a Storyboard (even if you can’t draw) | Storyboarding for Film & Video | 4 Simple Steps
-
How to make a storyboard for a video in 6 steps | Video Marketing How To