Illuminate Your Dialogue: Budget-Friendly Lighting Techniques for Filmmakers

Image source: 2 Steps to Easy Lighting! The Back Cross Key
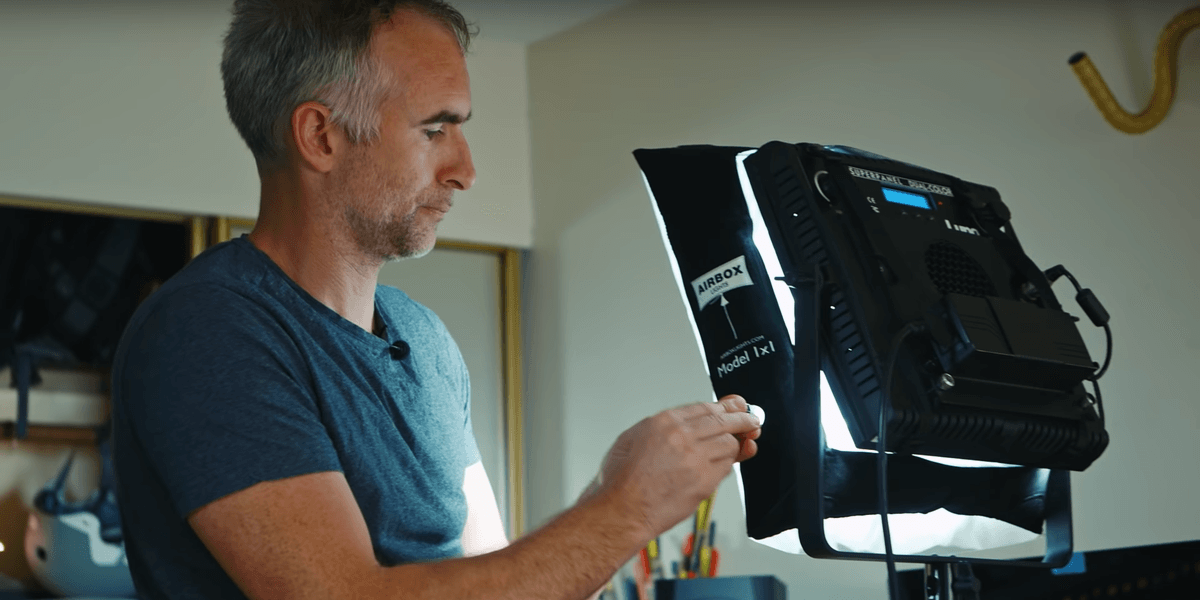
Image source: The Cross Key Technique: Lighting 2 Interview Subjects …
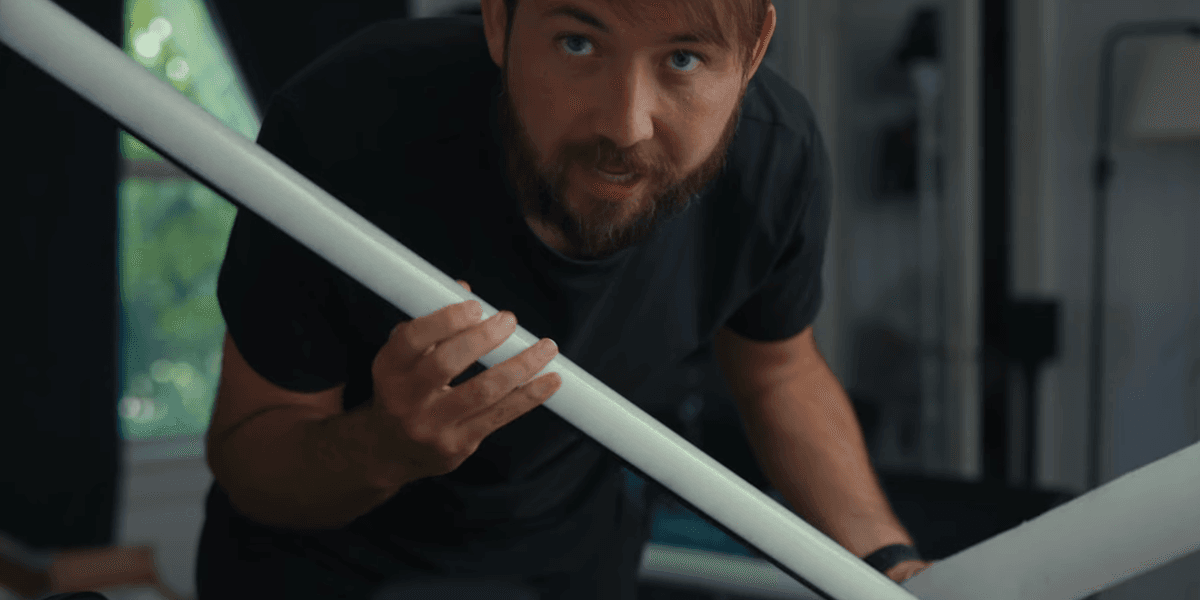
Image source: You Can Light a Whole Movie with Just These Lights
Here’s a practical guide to lighting a dialogue scene on a budget, using minimal gear and DIY tricks:
Core Setup: Cross-Key (Back Cross Key) — 2–3 Lights Max
For two actors facing each or sitting across, the most economical cinematic technique is cross-keying (also called back cross key):
| Role | Placement | Purpose |
|---|---|---|
| Key Light 1 | Behind camera, upstage side of Actor A (opposite their eye-line) | Illuminates Actor A’s far side; acts as backlight/hair light for Actor B 1, 2 |
| Key Light 2 | Mirror position for Actor B | Illuminates Actor B’s far side; acts as backlight for Actor A 1, 3 |
| Fill (optional) | Perpendicular between actors, through diffusion | Softens shadows on both faces if you want even lighting 3 |
Why it works: Each light serves two purposes, so you need half the equipment. Shadows fall toward camera, creating dimensionality. 1
Budget Gear Recommendations
| Gear Type | Budget Option | Cost Range |
|---|---|---|
| LED lights | LED tube lights (Aputure, GVM) or 1×1 LED panels | $30–$150 each 4, 5 |
| Diffusion | Pool noodles over tubes, frosted shower curtain ($1–$10), white t-shirt, wax paper 4, 6, 7 | $1–$20 |
| Reflectors | Foam core, white cardboard, garbage bags (bounce) 8, 6 | $0–$5 |
| Flags | Black foam core or cardboard to cut light 9 | $0–$5 |
Pro tip: LED tube lights are incredibly versatile — one can serve as key, another as edge/fill when shooting over shoulders. 4
Key Low-Budget Principles
- Less is more — Establish a low base fill, then concentrate on actors only 9
- Use practicals — Start with existing lamps, monitors, windows in the room; supplement with tubes 10, 4
- Don’t fear shadows — Let actors walk through shadows; just don’t have them deliver important lines there 9
- Make walls interesting — Light table lamps casting fans on walls, or use cardboard cutters for angled shadows 9
- Natural light — Use windows with diffusion or reflectors for fill/key/backlight 9
- Modern cameras are sensitive — Use 300W–800W equivalents instead of 1k–2k 9
DIY Diffusion Hacks
- Shower curtain/liner: Frosted version works like professional frost diffusion 6, 7
- T-shirt or sheet: Great for small/large areas; withstands heat 6
- Wax paper: Cheapest per square foot; clamp directly to light 11, 6
- Lampshade + t-shirt: Creates instant softbox 6
- Pool noodles: Slip over LED tubes for instant softening 4
Quick 3-Step Workflow
- Clear the room: Turn off house lights, close curtains, blackout windows 12
- Motivate practicals: Turn on existing lamps in shot; add diffusion if too harsh 10, 4
- Add cross-key: Place 2 LED lights behind actors on opposite sides; add fill if needed 3, 8
Do you have a specific scene setup (e.g., two people on a couch, standing face-to-face, café at night) or a gear budget I can tailor this to?
References
-
We had to turn a day time cafe into night but we only had $500 …
-
How I Lit My First Dialogue Scene: Lessons Learned as a Solo Filmmaker
-
Household Items That Make Great (And Cheap) DIY Light Diffusers
-
DIY Light Skirting and Other Ways to Light a Scene with No Money
-
Illuminate Your Film with One Light, Just Like These Hollywood Movies
-
When you have very little lighting equipment and resources …
-
AD | Nothing’s scarier than using a cig while lying down, trying …
-
DIY Diffusion with a Shower Curtain💡 #filmmaking #cinematographer