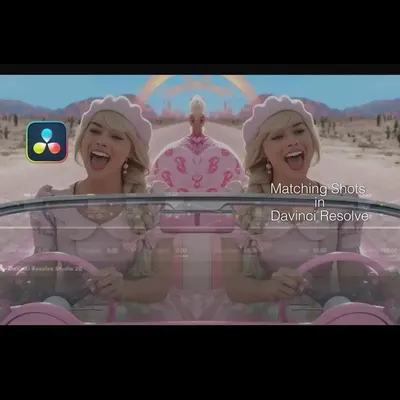
Achieve Cohesion: Matching Shots in Colour Grading
Image source: What is Shot Matching? | How to Match Shots in DaVinci …

Image source: More Tips & Tricks On Matching Shots In DaVinci Resolve 12

Image source: Still grading shot by shot in Davinci Resolve? Stop. Start …
Matching shots in colour grading means making multiple clips look consistent in exposure, colour balance, contrast, and saturation so they feel like they were shot together. Here’s a professional workflow: 1, 2
Core Workflow
| Step | What to do | Why it matters |
|---|---|---|
| 1. Normalise footage | Apply a LUT or colour space transform (e.g., BMD Film to Rec.709) at the pre-group level 3, 1 | Ensures all clips start from the same baseline |
| 2. Group by scene | Right-click timeline clips → Create Group 1, 4 | Speeds up workflow; applies grades consistently |
| 3. Pick a “hero shot” | Choose the clip with best exposure and colour values 1, 4 | This becomes your reference for matching other shots |
| 4. Build your look | Grade the hero shot: Contrast → Colour balance → Saturation (at post-group level) 1, 5 | Creates the foundation for the entire scene |
| 5. Match other shots | At clip level, adjust exposure, balance shadows, fine-tune colour balance, check saturation 1, 3 | Makes remaining clips align with the hero shot |
Key Tools & Techniques
- Split-screen/Reference Wipe: Switch to split-screen view or use “Show Reference Wipe” to compare shots side-by-side 3, 6
- Scope workflow: Use RGB Parade and Vectorscope—match the “blob” position to your hero shot, starting with blacks 4, 7
- 4-up neighbor view: Go through the entire film with a 4-up view to ensure no shot feels out of place 8
- Secondary adjustments: Add parallel nodes for skin tones (red/orange), skies (blue), and foliage (green) 1
- Adjust the hero too: Don’t be afraid to tweak your hero shot to match back to other clips 1
Pro Tips
- Get exposure, balance, and saturation similar first—this makes the look affect all clips uniformly 8
- Keep highlights and shadows landing in the same regions across every take (check scopes) 7
- Don’t make every area identical—let scene changes reflect narrative with subtle tonal shifts 7
- Practice reading images; scopes get you 90% there, then fine-tune visually 4
This workflow works in DaVinci Resolve, Premiere Pro (Lumetri), and most grading software. 9, 3
References
-
Still grading shot by shot in Davinci Resolve? Stop. Start …
-
How can I keep my color grade consistent in different clips?
-
What is Shot Matching? How to Match Shots in DaVinci Resolve
-
Shot Matching Done Right — DaVinci Resolve Color Grading Academy 6/8 — MotionVFX