
Lighting for Different Skin Tones: Flattering On-Camera Setups for Natural, Even Skin
Image source: Illuminating diversity - Definition Magazine
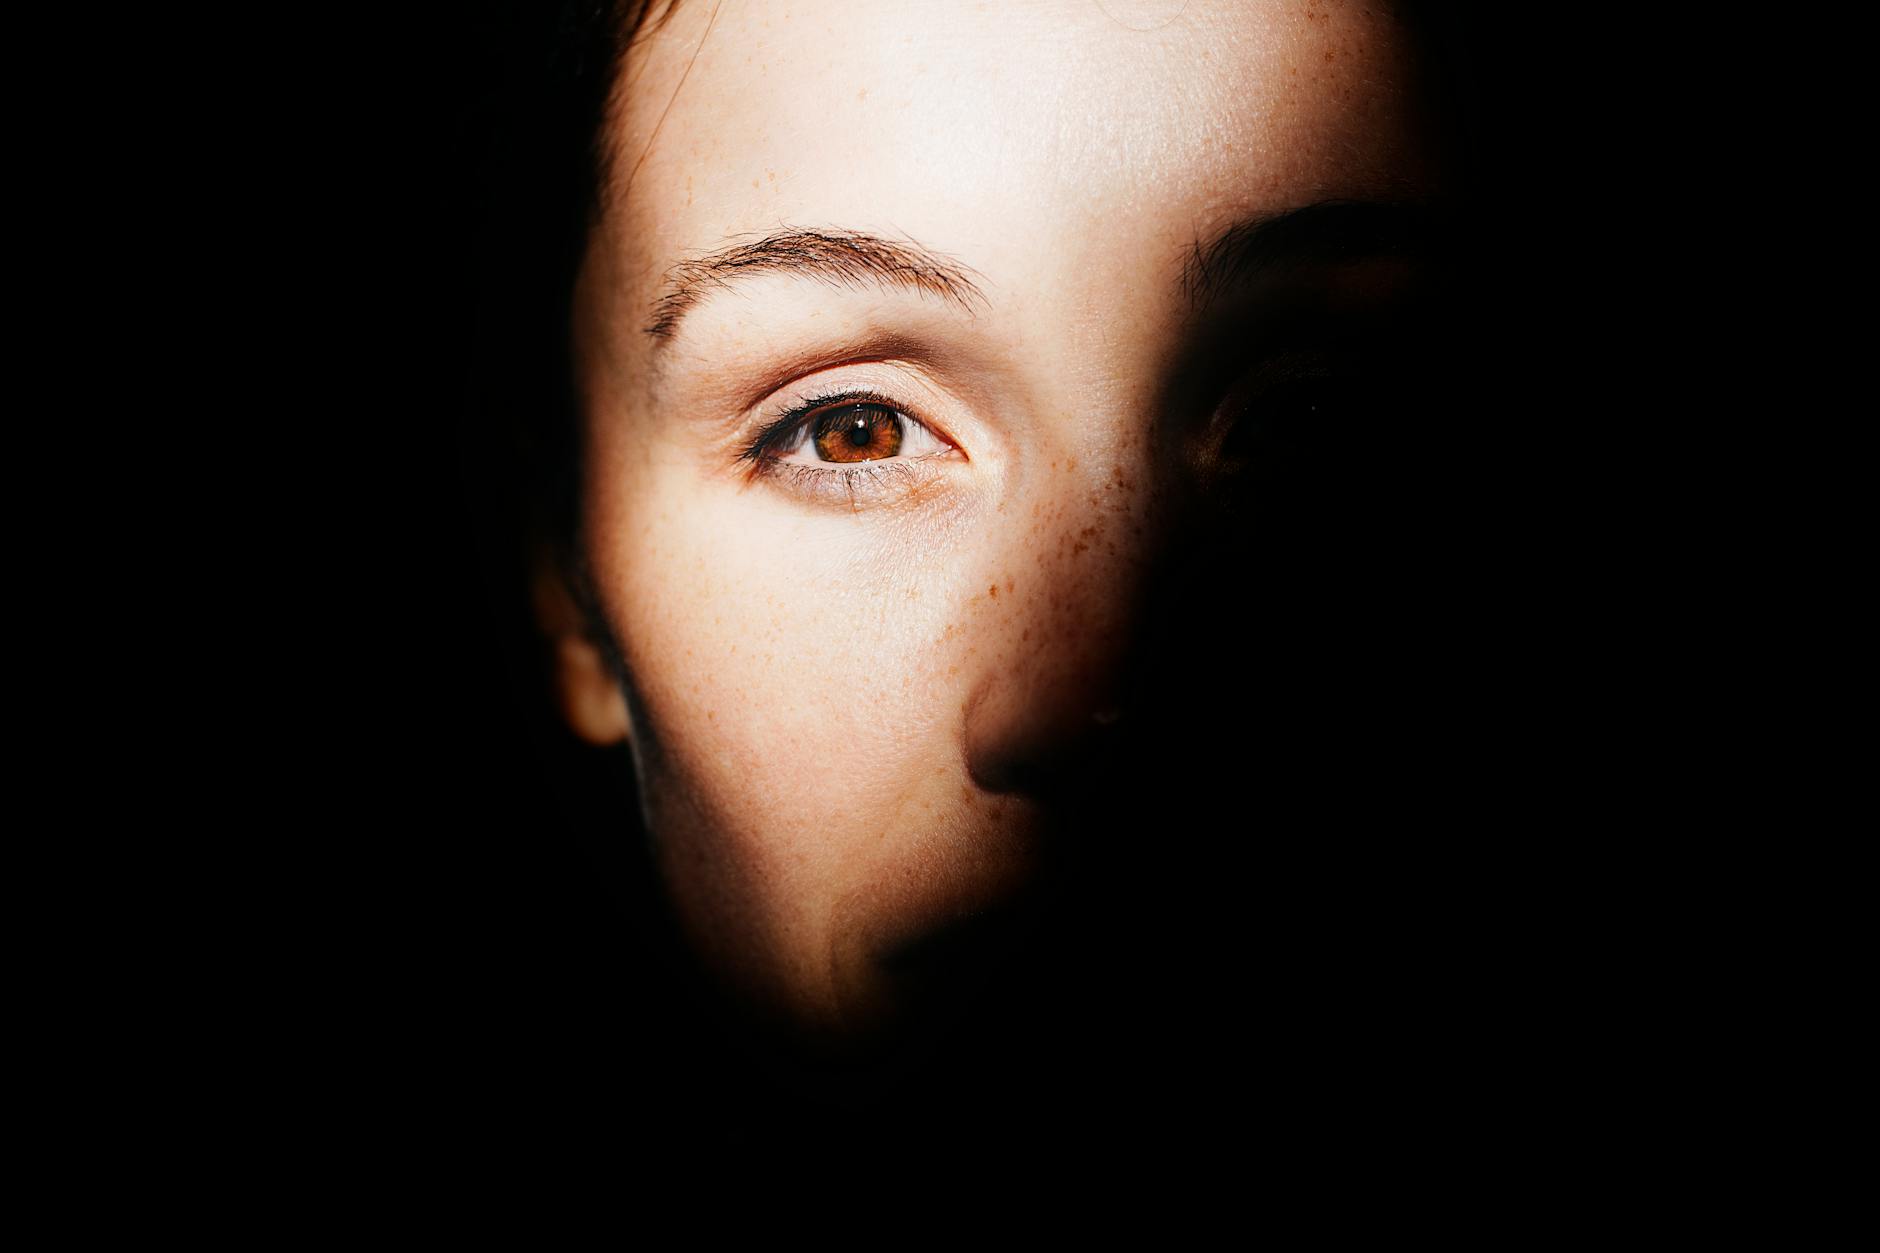
Image source: How Lighting Affects Your Skin on Camera (And What to Do About It)

Image source: Lighting different skin tones - British Cinematographer
Flattering light for different skin tones
The most reliable starting point is the same for everyone: use a large, soft light, then adjust its position, the shadow fill, and exposure while looking at the person on the actual camera. Skin tone matters, but there is no rule that darker skin always needs a brighter light or lighter skin always needs less; contrast, undertone, facial shape, and the background all affect the result. 1, 2
A flattering setup keeps skin texture visible without flattening the face or clipping the highlights. The goal is not to make every face look identical, but to give every face clean tonal separation, natural colour, and enough shape to read well on camera.
Start with one soft light
Place a window or diffused light just to one side of the camera and a little above eye level. Turn the person toward or away from it until the face has gentle shape without an unwanted deep shadow. If the unlit cheek disappears, bounce some light back with a white wall, card, or reflector. For a simple video call, a window and a white sheet of paper or foam board can be enough. Soft key light and controlled fill are techniques cinematographers use across a range of skin tones. 1, 3
A soft source is forgiving because it wraps around the face instead of carving hard shadow lines through it. That makes it easier to preserve natural skin texture, especially when a face has strong cheekbones, a broad forehead, or deeper eye sockets. A closer light source appears softer relative to the subject, so moving a diffused fixture in a little tighter often helps more than raising output.
Set white balance for the light illuminating the face, and avoid mixing a daylight window with a warm room lamp if you want natural-looking colour. Check a short recording rather than relying only on how the setup looks to your eyes. 4, 5
Mixed colour temperatures are one of the fastest ways to make skin look uneven on camera. Daylight, tungsten practicals, and cheap LEDs often land in different parts of the spectrum, so one side of the face can drift green, amber, or magenta even when exposure is correct. A clean result usually comes from choosing one dominant source and letting the other fixtures support the scene rather than fight the skin.
Adjust for the face
| What you see on camera | Try this |
|---|---|
| Light skin loses detail on the forehead or cheeks | Soften or move the light, reduce exposure slightly, or flag some light off the face. Keep the highlights from clipping. 1, 5 |
| Medium or olive skin looks unusually yellow, orange, or magenta | Check white balance and the light’s tint before changing exposure; test the result on the camera you’ll use. 1, 4 |
| Deep skin loses detail on the shadow side | Add a modest bounce or shift the key light until it catches the face at a pleasing angle. Preserve the skin’s natural depth rather than flooding it with flat frontal light. 1, 2 |
| The face blends into a dark background | Add a little separation with background light or a subtle edge light, rather than simply brightening the whole face. 2 |
These adjustments are about shape and tonal separation, not a fixed skin-tone formula. On lighter skin, the camera may clip shiny areas first, so the forehead, nose bridge, and cheek highlights need monitoring. On deeper skin, the skin can hold strong detail in the midtones while specular highlights on the forehead, nose, or cheeks become the first areas to break apart; that makes highlight control just as important as shadow fill.
For two people with different skin tones in one shot, a broad soft source gives you room to balance them. If each cannot have a separate light, placing the darker-skinned person somewhat closer to the source is one workable starting point; then check that neither face has clipped highlights or featureless shadows. 1, 2, 5
When the faces are far apart in brightness, it is often better to move the light, camera, or subjects before changing everything else. A small change in blocking can solve a bigger exposure problem than an increase in output can. In interview setups, keeping both faces on the same plane relative to the key light often matters more than trying to expose both identically.
Match the light quality to the skin
Skin tone responds to light quality as much as to brightness. Very hard light increases texture and contrast, which can be useful for dramatic styling but often exaggerates pores, dryness, and shine. Very large diffusion softens those details and helps most faces look even, but too much softness can remove shape and leave skin looking flat. The sweet spot is usually a source big enough to smooth transitions, but directional enough to keep cheekbones, jawline, and eye sockets readable.
Color rendering matters too. A light with stable, accurate output will reproduce undertones more cleanly, especially in the reds and yellows that make skin look alive. Poorly matched LEDs can introduce green or purple shifts that are hard to correct after the fact, even when the camera white balance is set correctly. For portrait work, lights with high CRI and TLCI ratings are commonly preferred because they tend to render skin more consistently, though the final image still depends on diffusion, distance, and bounce surfaces.
Use exposure tools, not guesswork
Look at the face, not just the camera’s overall brightness reading: can you see detail in both the lit and shadow sides, and do the highlights retain texture? A histogram or waveform can help reveal clipped highlights and crushed shadows, but there is no single brightness value that every skin tone should reach. Make the final adjustment by comparing the recorded image with how the person actually looks. 1, 5
False color is especially useful for skin because it turns exposure into a visual map rather than a judgment call. The exact color overlays depend on the camera or monitor, so the practical rule is to learn where that system places healthy skin and where it warns about clipping. Waveform monitoring is even more useful when several faces share the frame, because it shows whether one subject is sitting well above the other in a way that will look unnatural.
A good exposure for skin is the one that preserves texture in the brightest areas without letting the face sink into mud. On darker skin, underexposure can erase subtle tonal transitions in the cheeks and forehead, making the face look lifeless. On lighter skin, overexposure can blow out the upper planes quickly, especially under small hard sources or strong practicals.
Build separation without overexposing the face
Background separation should come from contrast, not from flooding the subject with more light. A thin edge light, a lighter background, or a small practical behind the subject can lift the silhouette without flattening the face. This is especially useful when dark clothing, dark hair, and a dark background all compete with deeper skin tones.
A rim light should usually stay subtle. Too much edge light can outline the subject unnaturally and make the scene feel lit rather than observed. In many interviews, a slightly brighter background and a controlled key light create cleaner separation than a strong backlight ever will.
Common mistakes
- Using one exposure target for every face. Skin tones do not share a single ideal brightness.
- Mixing too many color temperatures. Uneven colour makes even correct exposure look wrong.
- Making the key light too small or too close to the lens axis. Flat frontal light removes shape and can make skin look washed out.
- Cranking fill until all shadows disappear. Some shadow gives the face depth and keeps the image dimensional.
- Ignoring shiny areas. Foreheads, noses, and cheekbones usually clip before the rest of the face does.
- Choosing a background that matches the subject too closely. Separation problems are often background problems, not skin-tone problems.
A practical portrait starting point
A reliable interview or talking-head setup is a diffused key light about 30 to 45 degrees off camera and slightly above eye level, a weak bounce on the shadow side, and a background that is a little darker or lighter than the subject. That arrangement gives enough shape for most faces while leaving room to adapt for different complexions and undertones.
If the subject has very glossy skin, reduce the light’s angle, enlarge the source, or add a touch of powder before changing exposure. If the subject has dry or textured skin, a softer source and gentler fill usually work better than harder light and more contrast. The same basic setup can be tuned for many skin tones as long as the key is soft, the colour is controlled, and the monitoring is honest.
Quick rule of thumb
The most flattering lighting for different skin tones is usually not a different light setup for each person, but a controlled soft source, accurate colour, and exposure judged on the recorded image. Once those three elements are stable, skin tone becomes a creative variable rather than a technical problem.