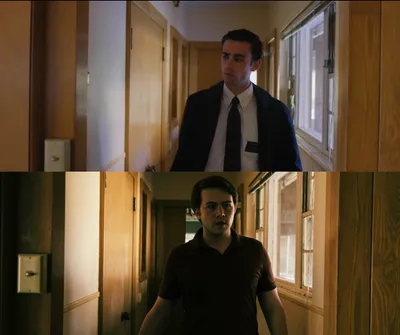
Photo-Boarding on Location: Storyboarding with Stand-Ins for Faster Previsualisation
Image source: Photographic Storyboards - The Next Door - Erik The Photographer
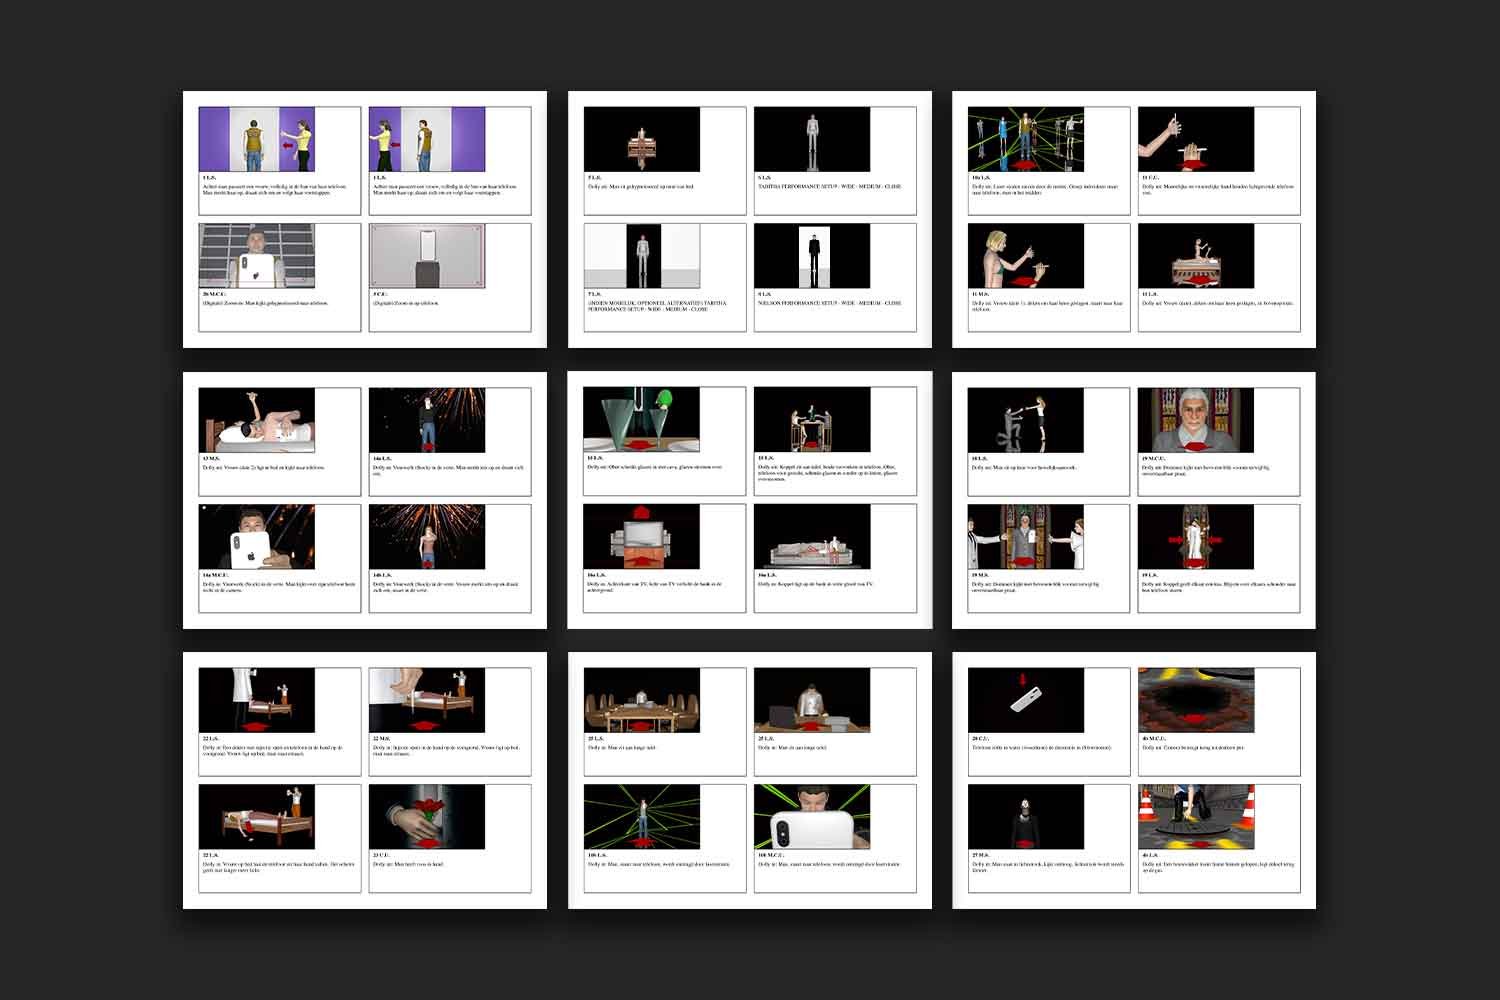
Image source: Why Is A Storyboard…
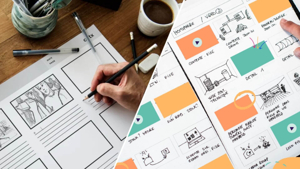
Image source: How to Storyboard if You Can’t Draw — 4 Alternative Options
Photo-boarding: storyboarding on location
Photo-boarding replaces drawn storyboard panels with photographs of planned shots. During preproduction, the location is visited, stand-ins are placed where the performers will be, and the scene is photographed from candidate camera positions. Arranged in story order, those images give the director and crew a practical preview of framing, blocking, and how shots connect. 1, 2
Unlike a clean drawing, a photo-board shows the real geometry of the space: door widths, ceiling height, window direction, reflective surfaces, and how far a lens can move before a wall or background detail becomes a problem. That makes it especially useful on location shoots, where the physical environment often dictates the shot more than the script does.
A practical workflow
-
Start with the scene’s beats. Identify the actions or changes the audience must see, then make a rough shot list. A storyboard’s job is to communicate the scene, location, camera position, and movement—not to make polished images. 2 The useful questions are simple: who enters the frame first, what changes emotionally, and what information must land before the cut.
-
Stage each shot on location. Put stand-ins in position and try camera angles and framing. A phone is enough to capture reference images; the value is seeing the real space rather than imagining it from a drawing. 1, 2 Use someone with roughly the same height and silhouette as the actor if possible, because a doorway, counter, car window, or table edge can play very differently once body scale is visible in frame.
-
Build the board. Select a photo for each planned shot and place the panels in sequence. Label them with scene and shot numbers, shot descriptions, aspect ratio where relevant, and arrows or notes for movement that a still image cannot show. 2, 3 If the camera will pan, tilt, or track, note the start and end of the move so the board communicates intention rather than just a frozen composition.
-
Use it as a shared reference. Review whether the sequence reads clearly, revise shots that do not work, and give the board to the crew before filming. Treat it as a starting plan, not a requirement to reproduce every photo exactly. 1 On set, the board is most useful when it prevents confusion about coverage, eyelines, and where the camera is expected to live in the space.
flowchart LR A[Scene beats and rough shot list] --> B[Block stand-ins on location] B --> C[Photograph candidate shots] C --> D[Select, order, and annotate frames] D --> E[Review with crew and revise] E --> F[Use board during filming]What to photograph
A useful photo-board usually covers more than the “best” angle. It should show the shots that explain the scene and the shots that reveal whether the scene is physically workable.
- Establishing view. A wide frame that orients the audience to the room, exterior, or set piece.
- Action beats. The key movements or reveals, such as an entrance, a handoff, a turn, or a reaction.
- Eyeline pairs. Matching angles that make conversation coverage understandable.
- Problem shots. Any angle where the camera has limited room, a reflection may show equipment, or a background element could distract.
- Transition shots. Inserts, cutaways, or detail shots that bridge time or hide a practical change in position.
This is where photo-boarding is more than “storyboarding with photos.” A drawn board can suggest blocking, but a photographed board can expose actual obstacles: a lamp in the line of sight, a doorway too narrow for the intended lens, or a window that blows out the actor’s face unless the shot is adjusted.
Why stand-ins matter
Stand-ins turn the location into a rehearsal space for composition. Their position determines how much of the frame reads as foreground, midground, and background, and that is often where the shot either works or fails. A small shift of 30 centimeters can change whether a face is centered in a practical light, whether a hand is hidden behind a table, or whether a reverse shot feels too flat.
They also help when the final cast is not yet available. Hair, wardrobe, and exact performance are less important than body placement and scale. A coat draped over a chair or a friend wearing the right silhouette can be enough to test whether the shot holds together visually.
When it helps most
Photo-boarding is especially useful when the actual location affects the shot: its layout, sightlines, available camera positions, or what appears in the background. It also gives people who do not draw a direct way to communicate a visual plan. The trade-off is more work during preproduction and a need to access the location and arrange stand-ins; for The Next Door, the photoboarder describes spending four five-hour days making boards before the shoot. 1, 2, 3
It is particularly strong for:
- Tight interiors such as apartments, hallways, kitchens, and vehicles.
- Scenes with complex blocking where actor movement must thread through furniture or props.
- Low-budget productions that need to lock camera positions before a short shoot day.
- Projects with non-drawing collaborators who can understand photographs faster than sketches.
For example, in a doorway scene, photograph the wide shot, a character’s approach, and the reverse angle with stand-ins. If the reverse angle reveals a distracting corridor—or leaves no room for the camera—you can change the plan before the cast and crew arrive.
Common mistakes
The biggest mistake is treating the photo-board as a finished visual style guide instead of a planning tool. The goal is clarity, not prettiness. A frame can be ugly and still be extremely useful if it communicates blocking, lens height, or a hard lighting challenge.
Another common mistake is photographing only one version of each shot. On location, the first framing is rarely the only workable framing. It helps to capture alternatives: slightly wider, slightly tighter, higher, lower, and from the opposite side of the room if continuity allows. That small comparison set often reveals which version preserves the action and which one makes the space feel cramped.
A third mistake is ignoring movement. Still frames cannot explain a pan from one character to another, a dolly move through a doorway, or a whip turn that will bridge two angles. Those shots need arrows, notes, or multiple frames to show how the camera travels.
A simple way to read the board
A photo-board is easiest to use when each image answers a specific production question:
- Where is the camera?
- What is the actor doing in frame?
- What part of the location is visible?
- What will likely break if the shot changes?
If a board answers those questions, it is doing its job. The sequence does not need to be beautiful, and it does not need to mimic the final edit shot for shot. It only needs to make the shoot faster, the blocking clearer, and the location less surprising once the crew arrives.